Spotswood Custom Computer Cases
by Derek Wilson on August 27, 2008 12:00 AM EST- Posted in
- Cases/Cooling/PSUs
Installing a System
Working with the largest box (err… cylinder) that Spotswood makes, we expected to have a lot of room to work inside the case. This is true to some extent. There is actually plenty of room for internally mounting radiators for water-cooling systems. However, the extra space doesn't really do as much for ease of install and system access as we would normally expect from a large case. Don't look for anything highly modular, and while there are some thumbscrews, most of the work will be done with a variety of hex screws (the kit actually does come with tools, but you might need to supply your own wrench or pliers for holding some of the nuts at the back of some screws).
This case is not for the faint of heart. The two types of people we would recommend taking on the challenge are those with a lot of experience fighting cases (who have built a lot of PCs) or people who just like building stuff in general (and are comfortable improvising a solution if need be). If you're looking for a quick PC build, you'll want something else - but then you're not going to get a "drum" case, of course.
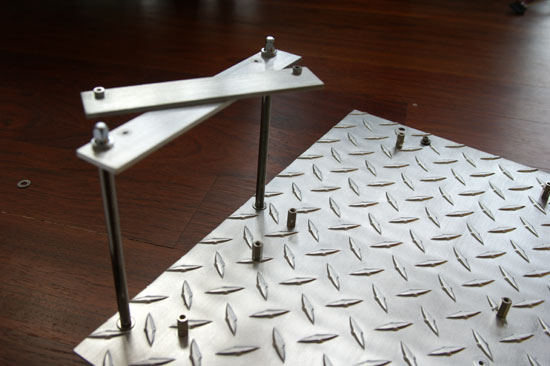
After removing the side panels, we remove the motherboard tray. Rather than having individual screws for each expansion card, it has two flat pieces of metal that sandwich the mounting brackets for the cards. This is pretty straightforward.
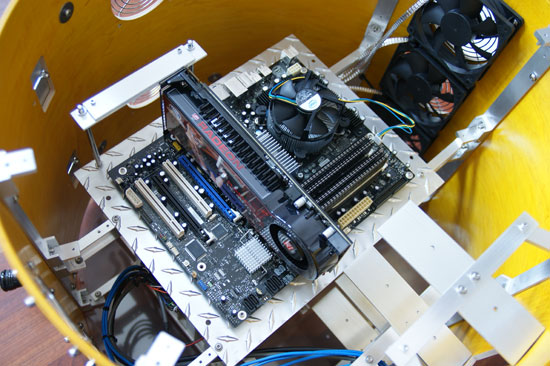
Installing the motherboard and add-in cards is simple enough, as is dropping the tray back into the system. I would actually recommend holding off on putting the tray back in until after installing the power supply and drives, as things are a little easier to reach this way.
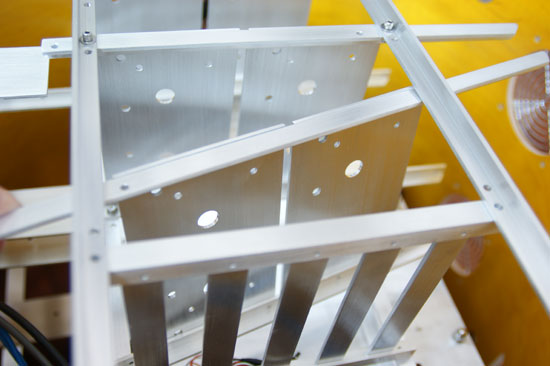
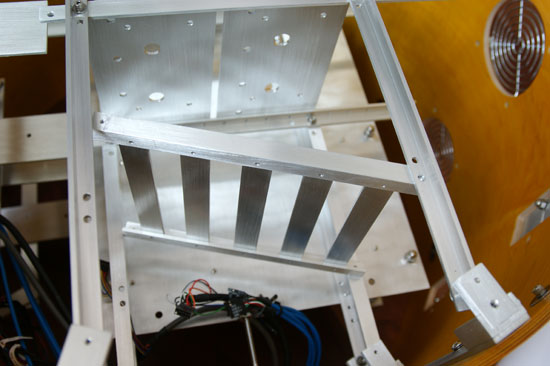
Turning over to the power supply, the instructions state that we may need to remove the lower hard drive mounting bracket in order to fit an oversized power supply. As we wanted to use our 1200W PCP&C PSU (which is definitely large), we did need to remove this hardware.
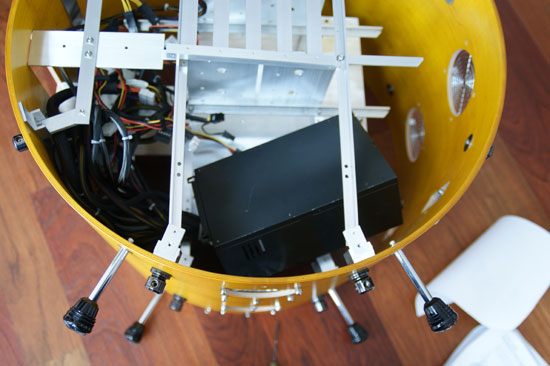
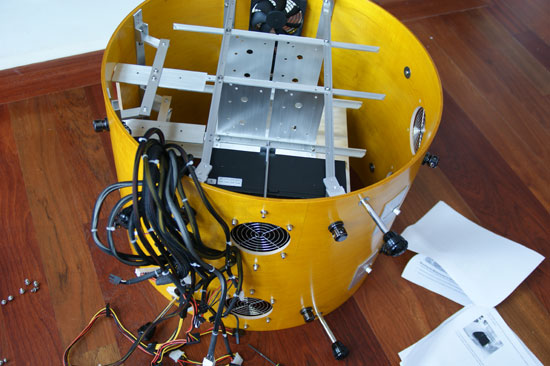
Even after this, it was a bit tricky to get the PSU to fit. If you are going with this case to build your prized enthusiast system with 3-way SLI or 4-way CrossFire, RAID arrays, and other goodies (with a matching power guzzler of a PSU), you might have to spend some time coaxing everything into place.
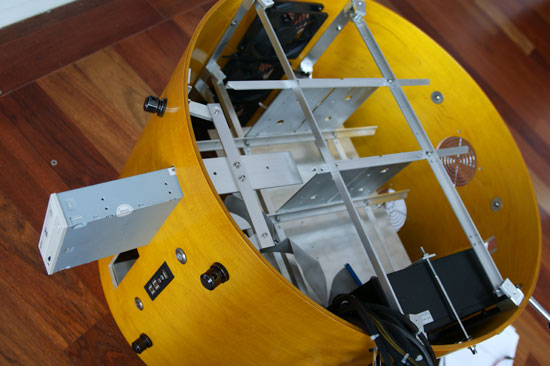
Optical drives install through the front. Standard drive bay covers likely will not work on this monster, and they will definitely mar the exterior. You can see we left one side open, which looks out of place on such a case. Since these things are custom, it's a good idea to only have Spotswood cut as many external drive bays as you need.
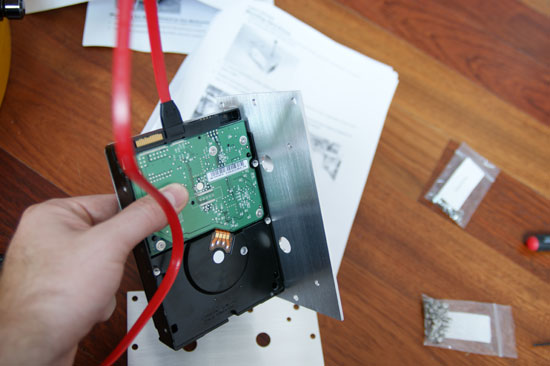
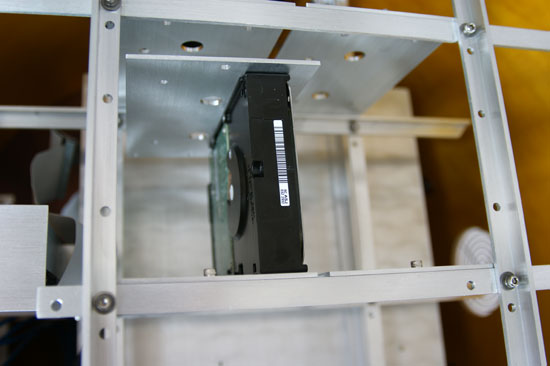
Mounting hard drives involves screwing them into plates and then screwing those plates into the rack.
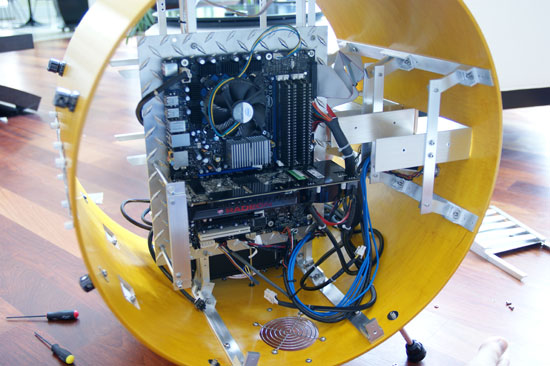
Plugging everything in was not easy, even with the long cables on our PSU. Despite the fact that the PSU is basically mounted right behind the motherboard, the cables start at just about as far away as possible from where they need to go. We had to finesse our 8-pin EPS12V power connector around the back, and we fought for every millimeter.
Here is the full gallery of our build process.


36 Comments
View All Comments
Slash3 - Wednesday, August 27, 2008 - link
Sweet - it's like the horribly misguided and awkward first years of amateur case modding, made new again. And at exorbitant cost! Excellent. I can't wait to see what they come up with next. Perhaps an aquarium tank, coffee table or a large lamp shaped like a life-sized anime figure.CherryBOMB - Wednesday, August 27, 2008 - link
Nice.strafejumper - Wednesday, August 27, 2008 - link
skimmed thru looking for a pic of the finished system fully builtnot seeing one
strafejumper - Wednesday, August 27, 2008 - link
nm found onehttp://www.spotswoodcustomcomputers.com/gallery/Co...">http://www.spotswoodcustomcomputers.com/gallery/Co...
this is without monitor, mouse, keyboard, lan, sound, etc. hooked up. I'm thinking once you hook it up the wires may take away from the effect
crimson117 - Wednesday, August 27, 2008 - link
Wireless keyboard / mouse / networking.Monitor cable still an issue.
Googer - Wednesday, August 27, 2008 - link
Several Companies make adapters for wireless monitor connections. Though the problem with it is, you are transmitting potentially secure information that anyone could pick up and decode. Having a wireless monitor is like haveing someone peek over your shoulder while inputing a credit card number, password, or other sensitive information.http://www.engadget.com/2008/08/25/iogears-wireles...">http://www.engadget.com/2008/08/25/ioge...a-kit-ex...
Googer - Wednesday, August 27, 2008 - link
Amendment- Since DVI and HDMI use the same TDMS signal you could also get away with one of those wireless HDMI adapters.http://www.google.com/products?q=gefen+wireless+hd...">http://www.google.com/products?q=gefen+...=Search+...
http://www.engadget.com/2007/06/20/gefen-goes-wild...">http://www.engadget.com/2007/06/20/gefe...d-extend...
Googer - Wednesday, August 27, 2008 - link
http://www.gefen.com/kvm/dproduct.jsp?prod_id=4318">http://www.gefen.com/kvm/dproduct.jsp?prod_id=4318JarredWalton - Wednesday, August 27, 2008 - link
Check the gallery for the system build. There aren't pictures of the system connected to monitor and keyboard and such, but the rest is there.Pyrokinetic - Wednesday, August 27, 2008 - link
Wow...really different, but not in the cool way. That is just ugly. But, when you gotta keep the homelife happy...That case is prime example why every guy needs an office/den. She can do whatever else to the rest of the house...